Thank you! Your submission has been received!
Oops! Something went wrong while submitting the form.
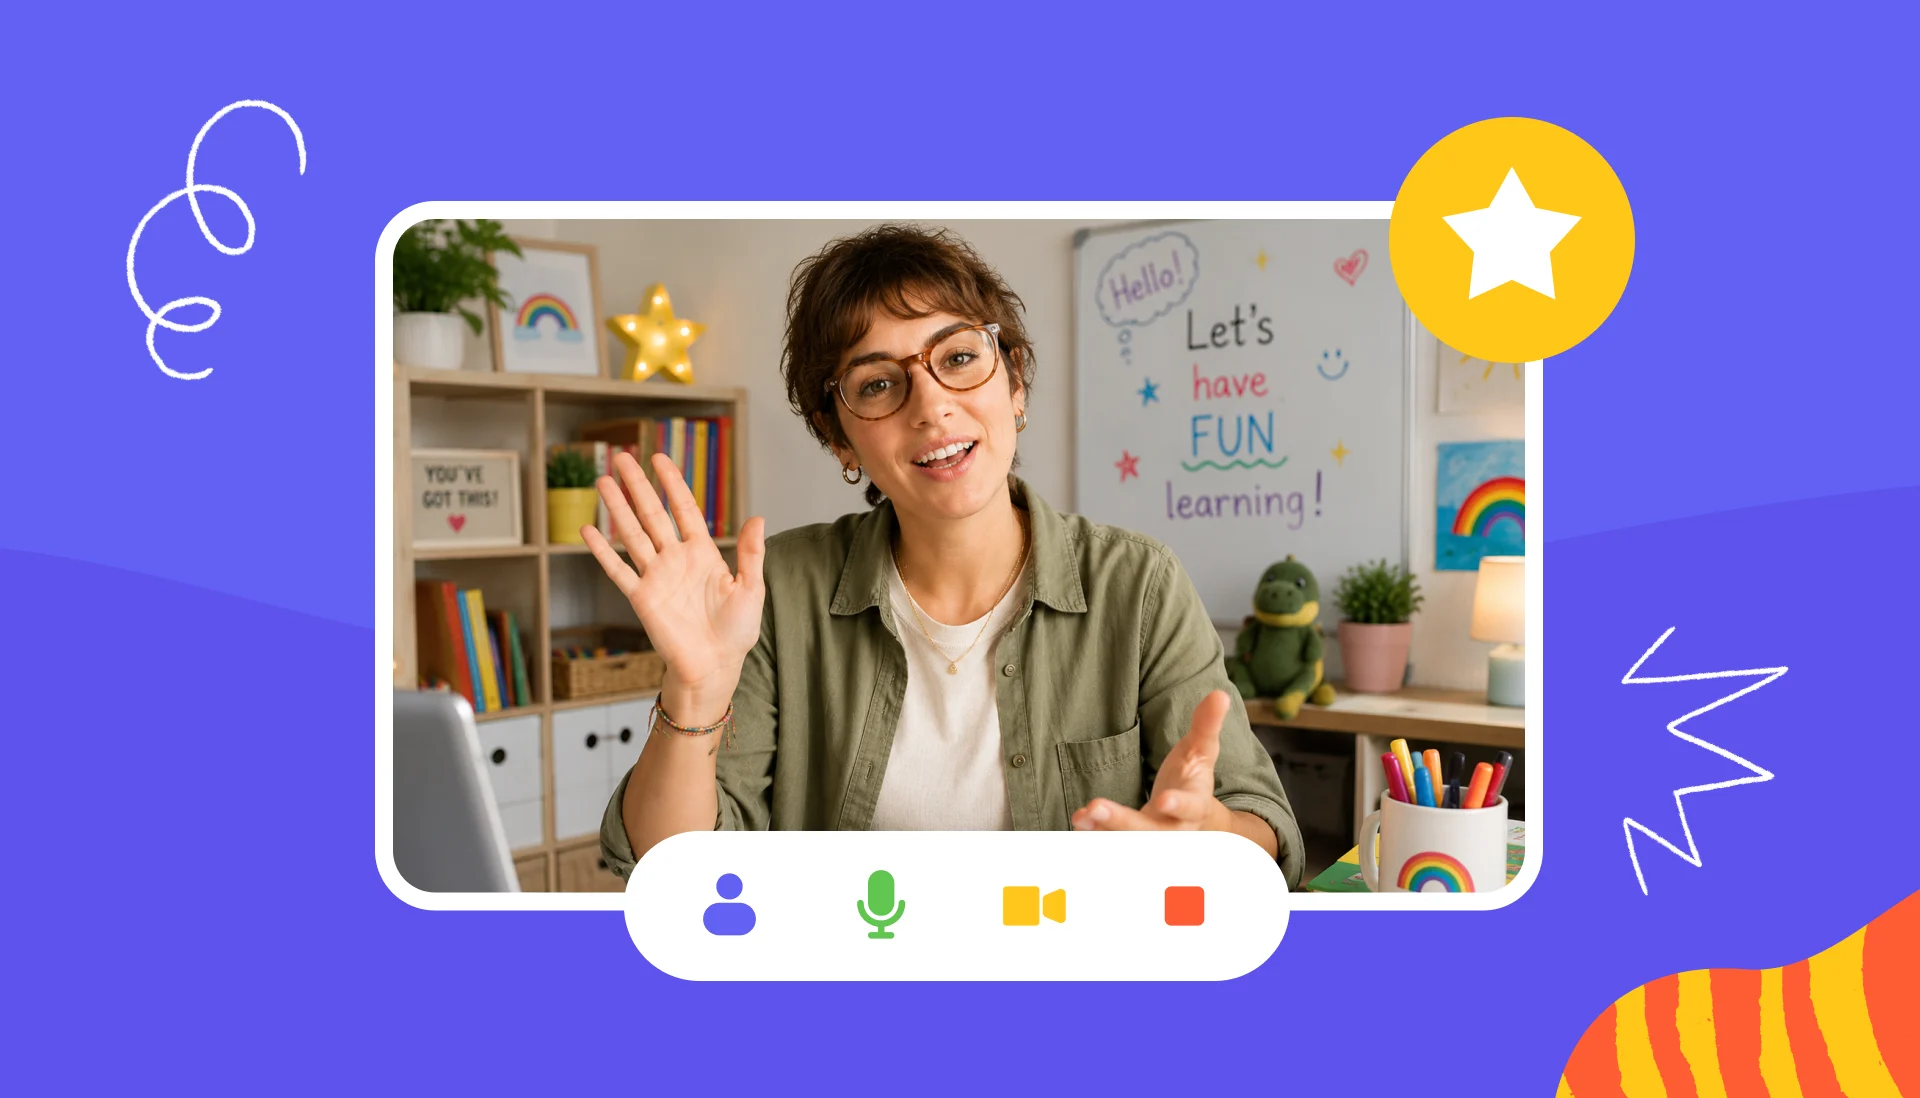
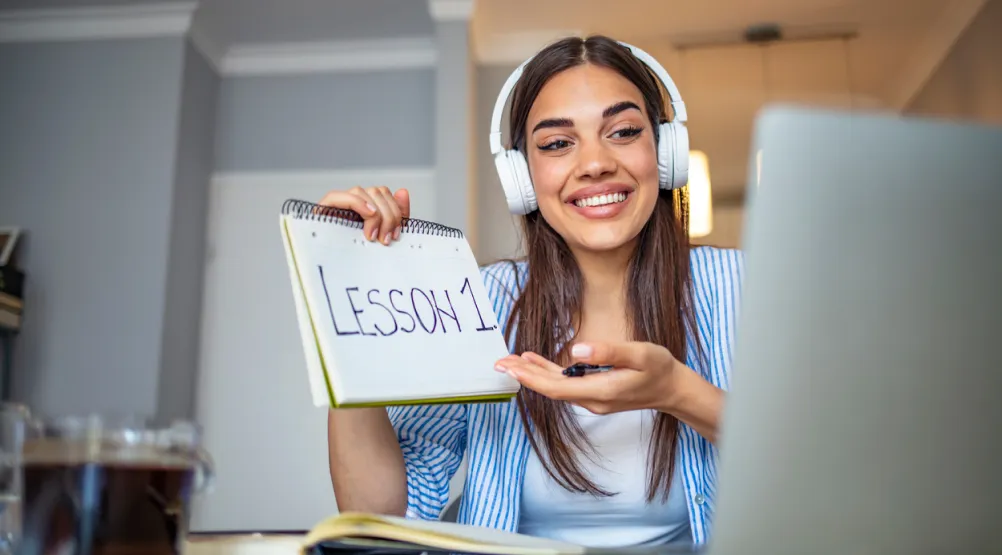
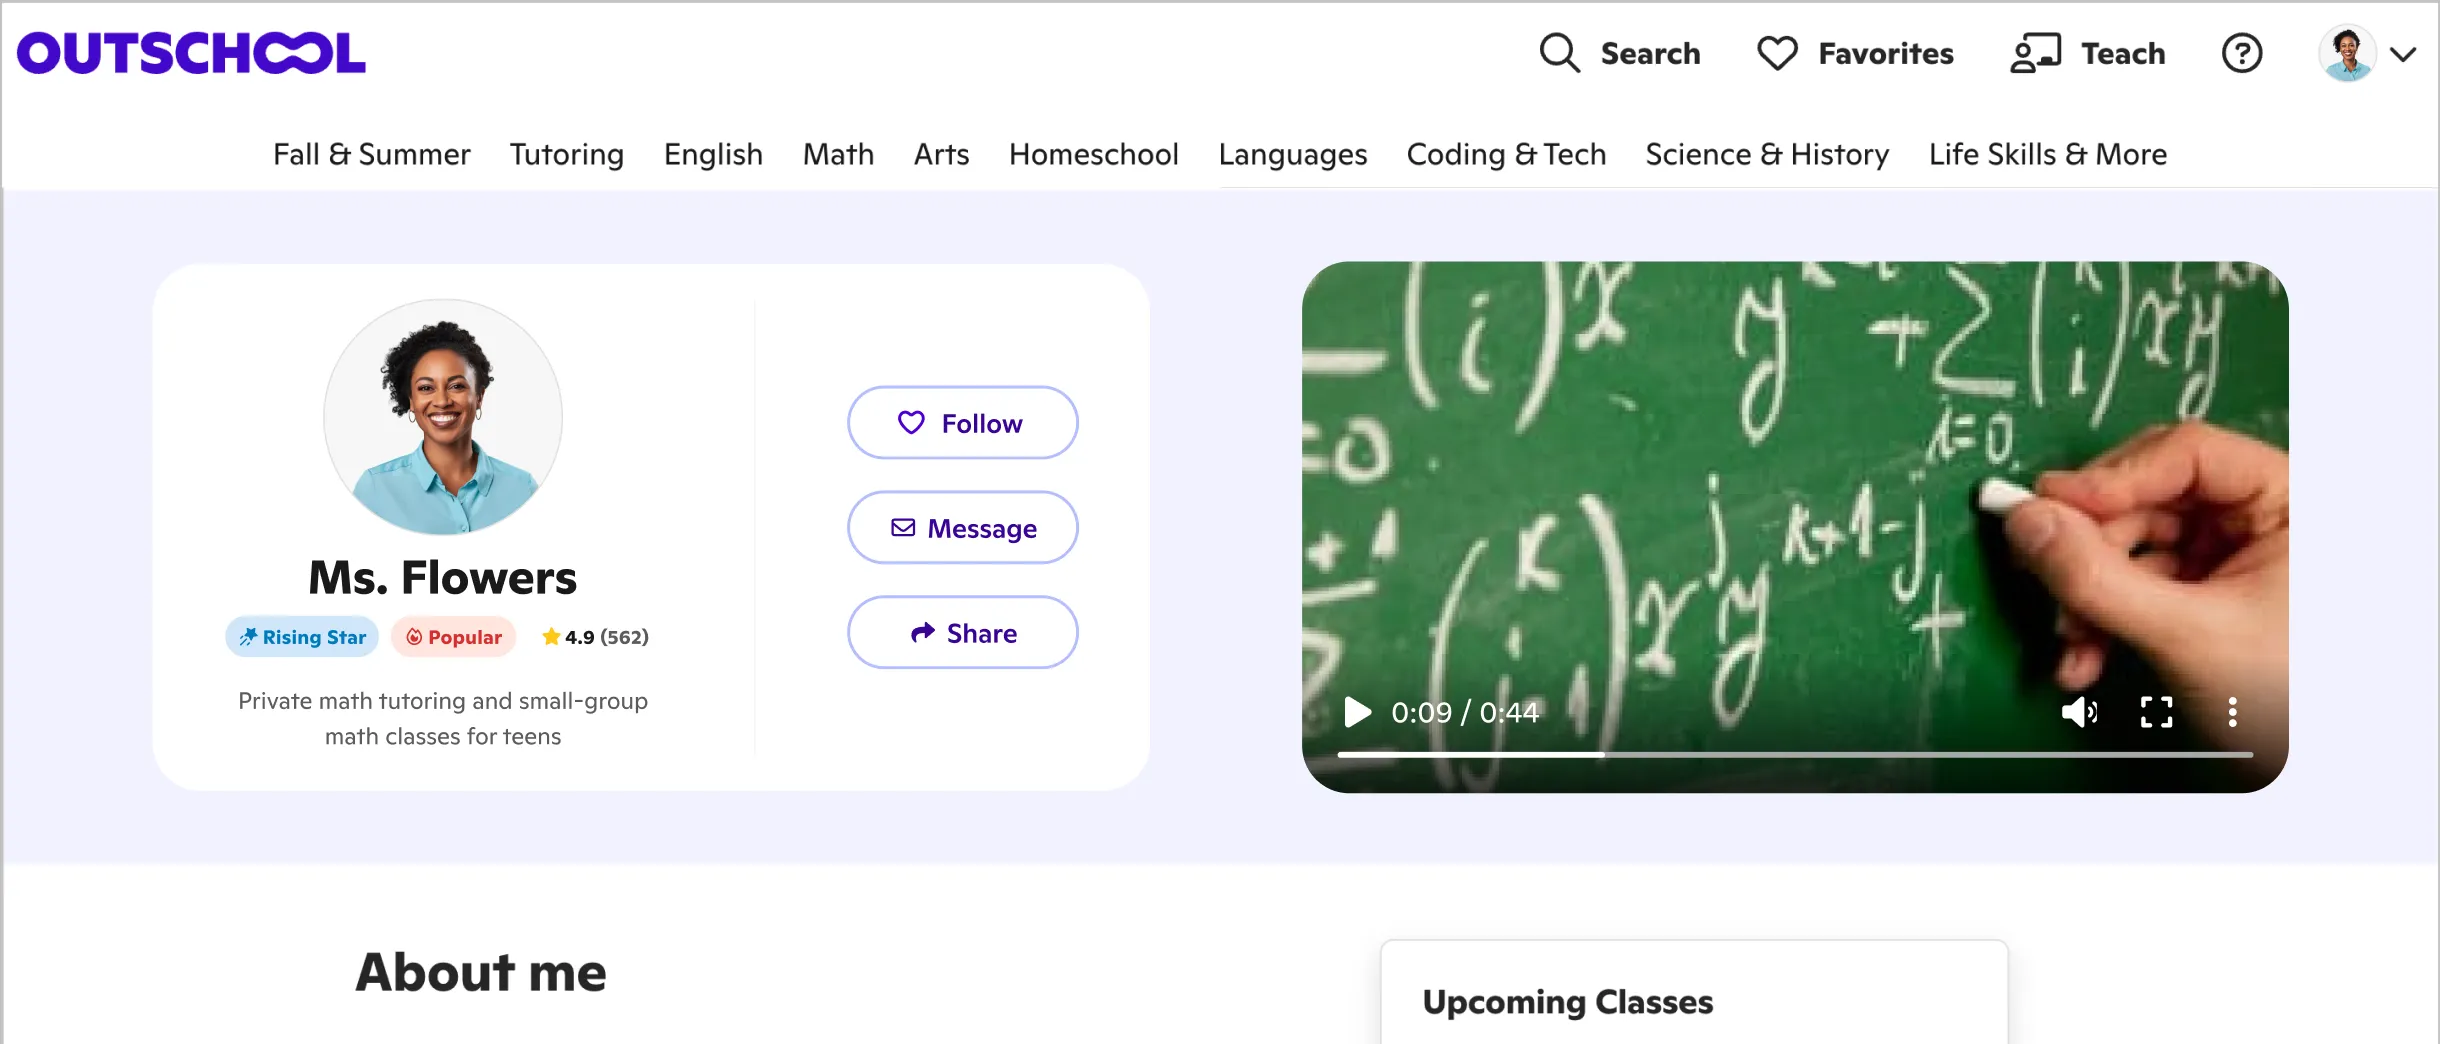
A course video is one of the best ways to show families who you are and what your class is like. This step-by-step guide and script template will help you get started. For more ideas, see our Best-Practices for Class Videos.
Aim for a video that's 30 to 60 seconds long. Short videos keep families' attention and get your key points across quickly. Your first video might take 30 to 60 minutes to plan and record. Once you're comfortable with the process, each new one should take about 10 to 15 minutes.
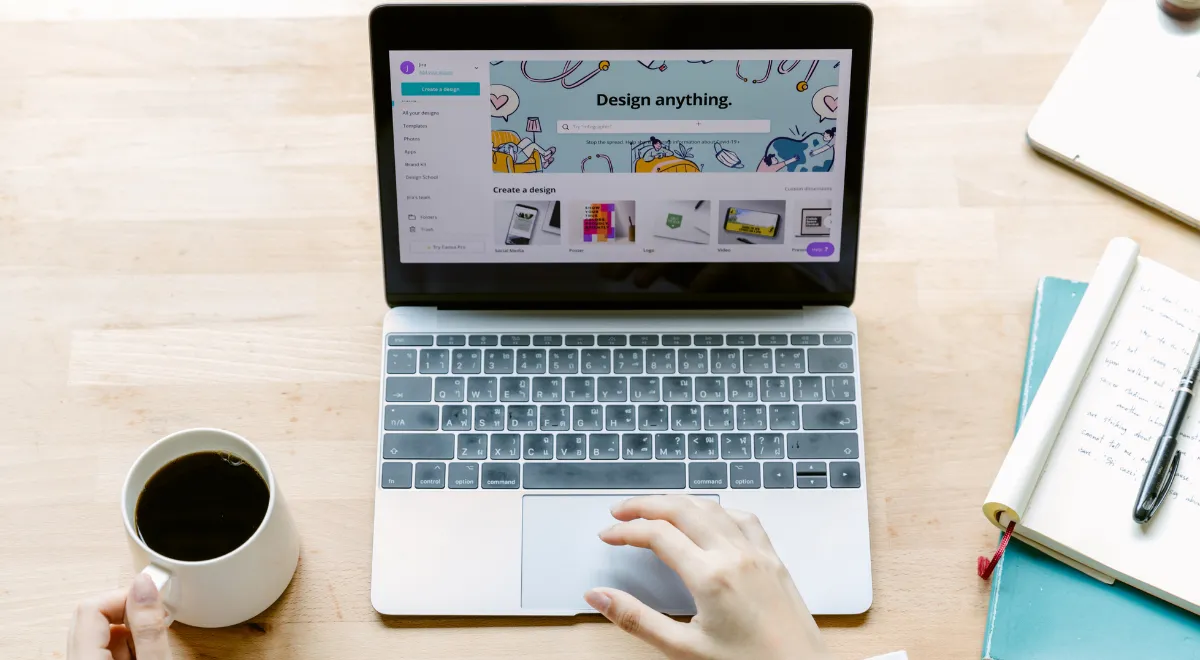
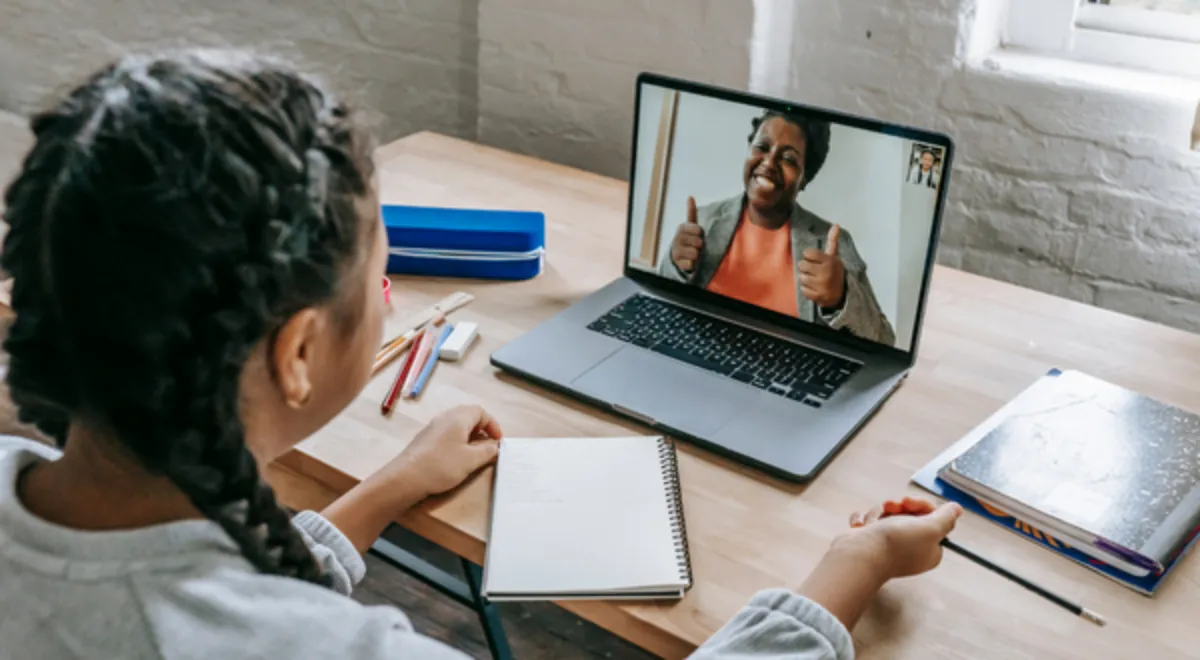
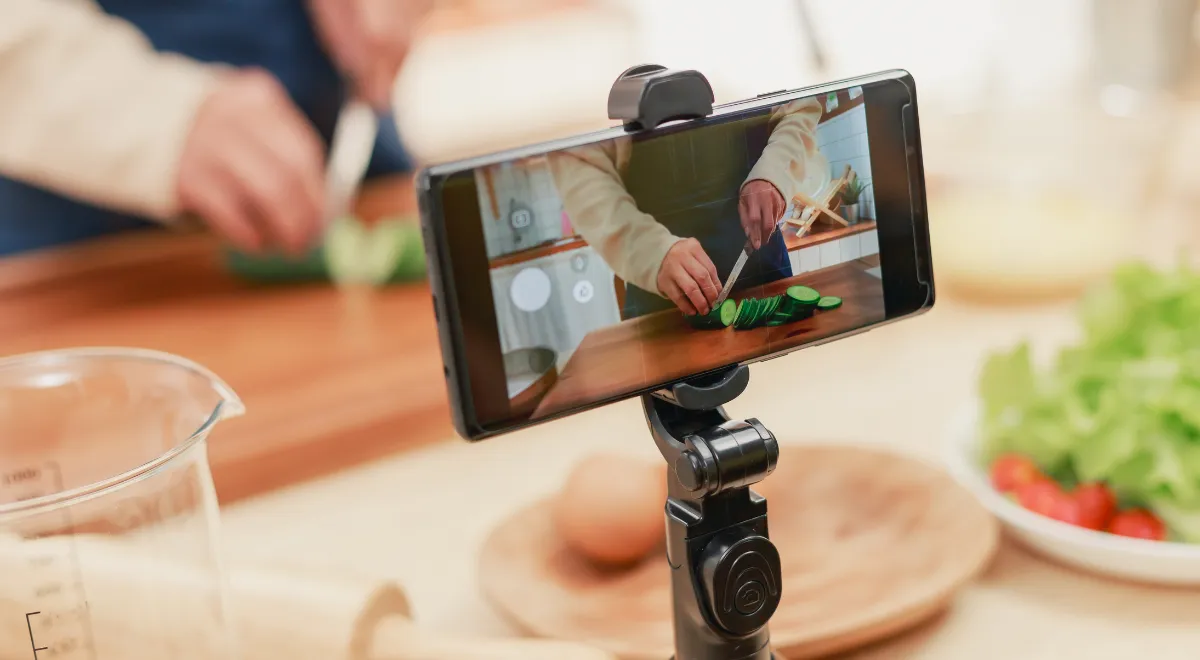
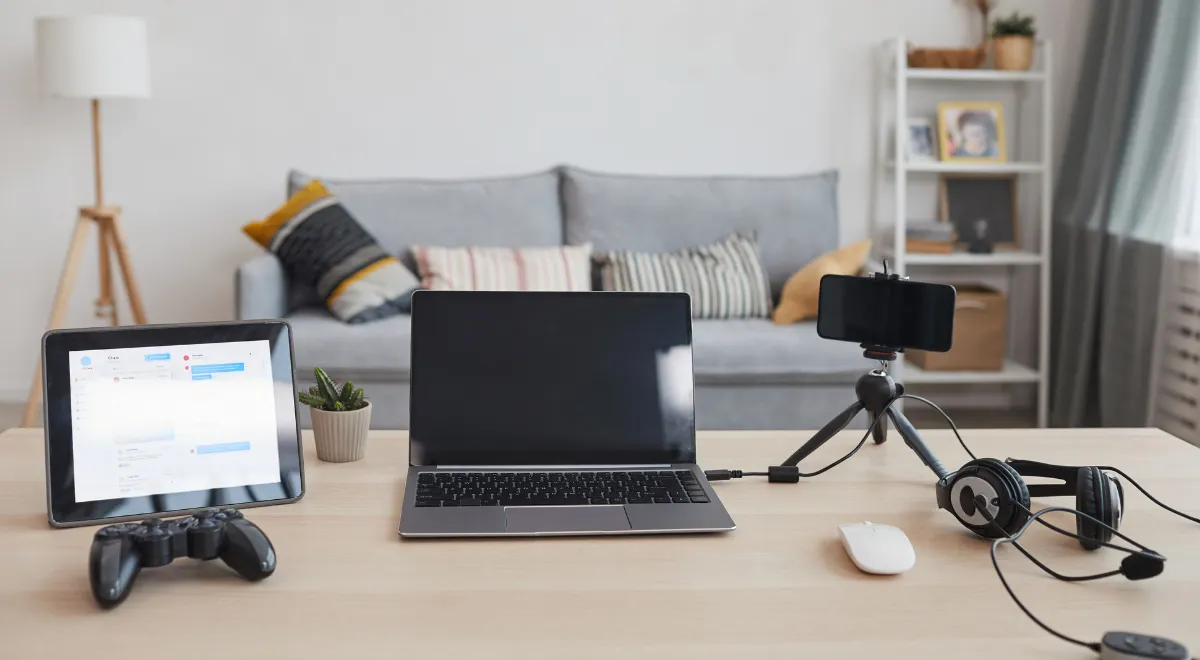
You don't need fancy equipment. For the clearest picture, we recommend recording on a phone (1080p) or a camera rather than a webcam. If you'd rather use your computer, it already has what you need:
Record a short test clip. Say "hello, testing 1-2-3," or anything you like. The point is to make sure everything works. Play it back, and try a few practice clips to hear how you sound at different volumes.
Most people find it helpful to plan what they'll say before the camera starts rolling. Use this template as a starting point, then make it your own. When you read it aloud, it should come in at 30 to 60 seconds.
Hi there, my name is [name]!
I love [topic] because [reason]. [One sentence about your experience or credentials in this topic.]
In this class, we're going to [what makes your class unique, beyond just "fun"].
By the end of class, you'll be able to [the new skill learners will gain or project they'll complete].
This class is great for learners who [who would be a good fit].
I can't wait to see you in class!
Read your script aloud and time it. If it runs longer than 60 seconds, cut anything that isn't essential. Do any parts feel awkward, or any sentences too long? Choose words and a tone that fit the age range of learners you want to reach.
You don't need to memorize it. Practice until you feel comfortable and confident, and print it in a large font so it's easy to glance at while recording.
Good lighting and the right background make a big difference. Look for a spot with plenty of natural light in front of you and a clean, uncluttered background. That could be a plain wall or something that reflects your teaching, like posters, projects or artwork. Avoid filming next to a bed or in other highly personal spaces. Pick a quiet spot, too, since sounds from cars, pets or other people can pull attention away from what you're saying.
Once you're set up, record a few sample clips and play them back to check how everything looks and sounds.
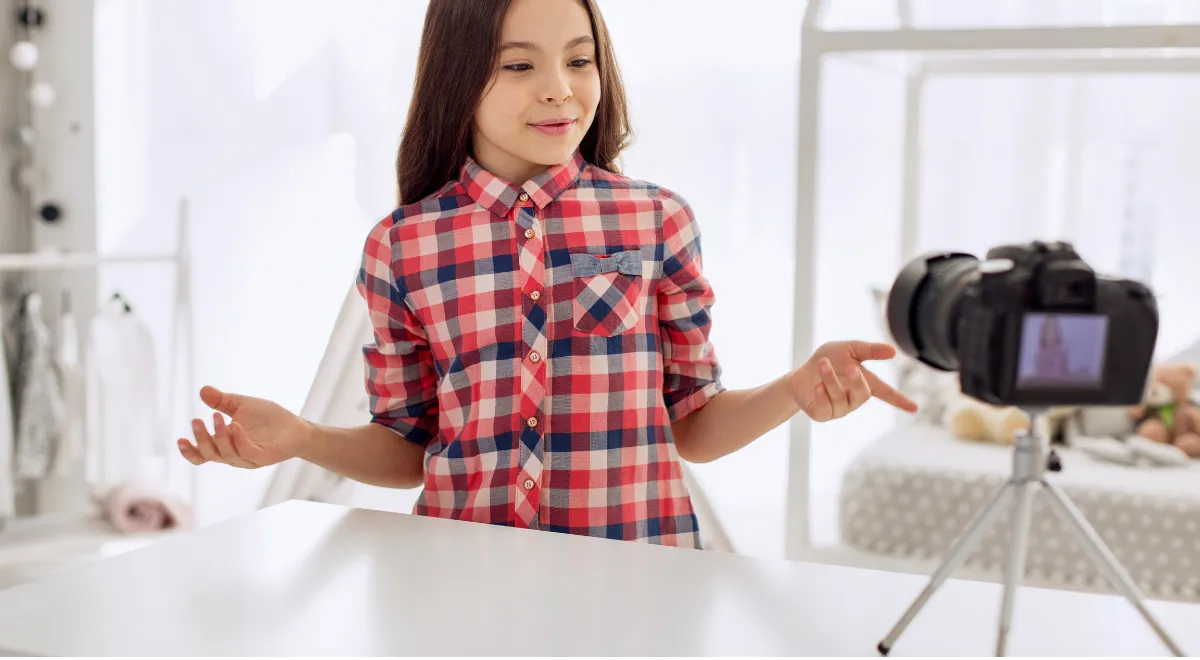
It's showtime! Speak directly to the camera, as if you're welcoming families into your class. Keep your script just below or beside the lens so you can glance at it while still making eye contact. If you trip over a word or an unexpected noise interrupts, just stop and try again. Record two or three takes you're happy with, then pick your favorite.
When your video is ready, upload it to your class listing to help families decide to enroll. We can't wait to see what you create! For tips and feedback from other educators, join the conversation in the Educator Slack Community.
Set your own schedule, price, and curriculum, and reach motivated learners around the world.